Hobart Handler 175 Wire Feed Problems
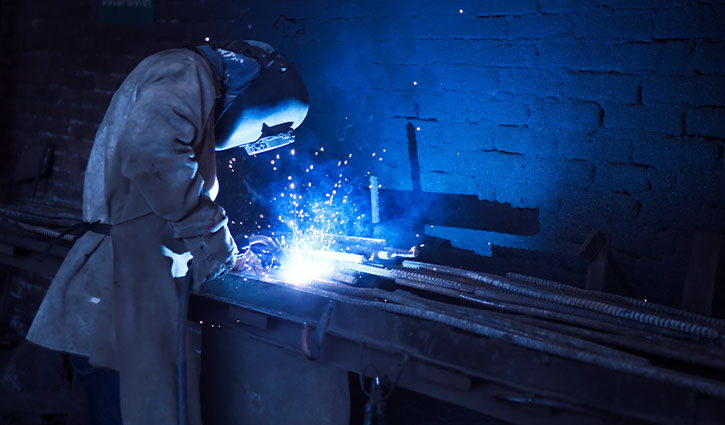
Making a high-quality weld is not such an easy task. When your wire feed and welding equipment are not functioning correctly, making a high-quality weld is just about impossible.
You may use and face Hobart handler 175 wire feed problems at the welding time. Finding the source of the issue quickly and correctly will save your money and frustration.
In this article, we will take you through all the possible phases where the problem can arise, and primarily you can fix it.
Let’s begin the journey.
Table of Contents
Hobart Handler 175 Wire Feed Problems
Repair weld defects can be a difficult task. Weld defects are often caused by incorrect processes, improper technique, parameters, or equipment settings. Therefore, when a weld defect appears, welders need to know to fix the situation as quickly as possible.
The following is a guide to solving many of the most common issues when using the Hobart handler 175 wire feed.
Primary Tips for Some Issues
Liner issues are the most common causes of wire feeding problems. So, to avoid liner problems, clean the liner with compressed air. Also, check your contact tip size or change the gun liner if your wire doesn’t pass through the torch.
While your welding wire isn’t feeding accurately, checking the spool is sensible. That is because there may be an error strain on either the spool brake, the drive rolls, or an excessive amount of pressure.
Firstly when any unknown problems arise, take a look at your user manual. There is a lot of instruction with a proper guide. In addition, the user manual provides many troubleshooting ideas for common issues.
Hobart Handler 175 Wire Don’t Feed When Trigger Operates
Your wire won’t feed while the trigger is operated, and hearing a clicking noise. This is a very familiar issue for Hobart 175 users.
At first, you have to disconnect the gun trigger. Next, carefully check your trigger switch or gun cable. If you notice any defect, you may need to replace it.
For example, if drive rolls are moving but the wire feed is not feeding, the issue occurs due to low drive pressure, so increase the pressure flow to fix it.
Read More: Hobart Handler 210 MVP MIG Welder Review 2022
The motor is Not Working
There can be many reasons behind a Hobart wire feed motor not working. Many people think that wire quality affects the feed motor. For example, dampness gathering because of low maintenance or a significant latency can lead your engine to not work.
Higher tension in the wire feed spool will hamper the running motor properly. And to reduce motor damage, you need to maintain this within the proper surroundings and use reinforcers earlier than placing it in storage.
Troubleshooting Wire Feed Problems
During the welding time, you may fall into various problems and complications, and every issue has a solution. In this stage, we will introduce you to very few common issues and their troubleshooting.
Excessive Spatter Troubleshooting
Excessive spatter is separate from molten alloy particles that cold to stable solid shape form near weld beads. And here is the solution
- Connect the lower wire feed speed to avoid spatter issues.
- Select the lower voltage range, Otherwise, your spatter may be damaged.
- Choose a little electrode extension.
- Before welding, you should be careful to reduce the dust, transparent oil, and grease from the welding surface.
- Increase protective gas line glide on the regulator and extend drafts near the welding arc.
Excessive Penetration Troubleshooting
Excessive penetration is a welded alloy melting through base metal and hanging under the weld. Check out the troubleshooting process below:
- Select lower voltage range and reduce wire feed speed. That is because it causes penetration.
- Power up the travel speed to avoid the issue.
- Before joining and designing, must come up with access to the last of the notch while maintaining the proper welding wire extension and arc feature.
- The Gun angle should be 0 to 15 degrees to achieve efficient penetration.
Incomplete Fusion Troubleshooting
Incomplete fusion is the failure of weld material to fuse entirely with base metal or a previous weld bead. Here are the steps to follow to have the solution:
- Before starting welding, remove all dust from the work surface like oil, moisture, dust, undercoating, and rust or grease.
- Choose a higher voltage and adjust the wire feed speed to avoid incomplete fusion.
- Select the proper angle or notch point to access the deadline during welding.
- Use the waving technique to avoid incomplete fusion.
Porosity Troubleshooting
Small cavities or gaps resulting from gas pockets in the welded metal are called porosity. Go through the following steps for troubleshooting.
- Increase shielding gas flow at the regulator and prevent drafts near the welding arc.
- Clean spatter from the gun nozzle.
- Inspect gas hoses for leaks.
- Welding-grade shielding air use is good practice to reduce the problem.
- Before welding, remove all dust from the work area like moisture, coatings, and rust or grease from the work area.
- To reduce the problem, use a very high deoxidizing welding wire feed.
Distortion Troubleshooting
A compression of weld alloy during welding that forces the base metal to move is familiar as distortion.
To avoid distortion, use restraint to hold the base material in an exact position.
Select the minimum voltage range and reduce wire feed speed to reduce the damage chance.
Increase moving speed when needed.
Weld in small segments at a time and allow cooling between welds.
Final Word
There are many reasons why the Hobart handler 175 can stop working. Therefore, this article has descriptively discussed Hobart handler 175 wire feed problems and possible solutions.
But also, some issues can arise which are not mentioned in this article. So in that situation, try to think appropriately, and your experience will help you find out the solutions.
If a more complex problem arises, meet the expert and follow their instructions.
Read More: Most Common 3 Hobart Ironman 230 Problems And Solutions

